Unity Low-Res Perfect Pixel Camera
A downloadable tool
This is a guide to make a Pixel Perfect camera in Unity without that travesty that is the "Pixel Perfect" script. This requires a little bit of setup, but I will explain it as best I can, and will gladly answer any questions. The Unity built in Pixel Perfect Camera has wasted so many hours of my life to give me results I'm not happy with.
This method is what I call the "CamRip Method". Imagine you're a big movie maker. You make your movie and you're playing it on the big screen. Then a bootlegger comes by and records your movie playing on the screen and sells it so other people can watch it. This is exactly what you're doing, but you're bootlegging your own game, and no giant corporation is losing any precious money.
Warnings: The intent for this script is to work in a 2D environment, with 2D sprites. It has the possibility of working in 3D but I have not tested it, and do not intend to in the foreseeable future.
The first method is for NEW PROJECTS. Skip below to see the changes for EXISTING PROJECTS. NEW PROJECT:
Step 1) Create two cameras in the scene.
Keep the one "Main Camera" and set the tag to "Main Camera"
Name the second one "Game Camera" and do not give it a tag.
Step 2) Move your "MainCamera" away from the scene, I prefer -420, -420, -69 that it's completely out of the way.
Step 3) Decide your "Pixels Per Unit" measurement
Rule of thumb for unity - If you plan on using the Unity Physics engine (which I assume you will) all the measurements are in play as if 1 Unit is 1 Meter. (See Reference 1) For the example, I'm going to make each unit 16 pixels.
Step 4) Decide your Resolution.
I recommend a resolution that divides evenly into 1920x1080. Since 1920x1080 also divides perfectly into 4k, you're good to go.
960x540 - 4:1 640x360 - 9:1 480x270 - 16:1 384x216 - 25:1 320x180 - 36:1 240x135 - 64:1 192:108 - 100:1 For the example, I'm going to be using 240:135 because I designed this for the LTRO-1 for the LospecJam. Step 5) Create an image that is exactly 240x135, and give it a good color so you can see if the camera is picking everything up... or use mine...
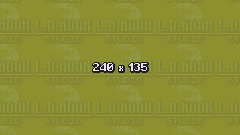
Place the image in the scene at the same X and Y location as your "GameCamera" but with a larger Z coord. Right now I have GameCamera at 0, 0, -10, and ScreenSize at 0, 0, 0.
Step 6) Import into Unity with the following settings

Note: Set your Pixels Per Unit, Mesh Full Rect, Filter Point, Compression None.
Step 7) Create A Render Texture
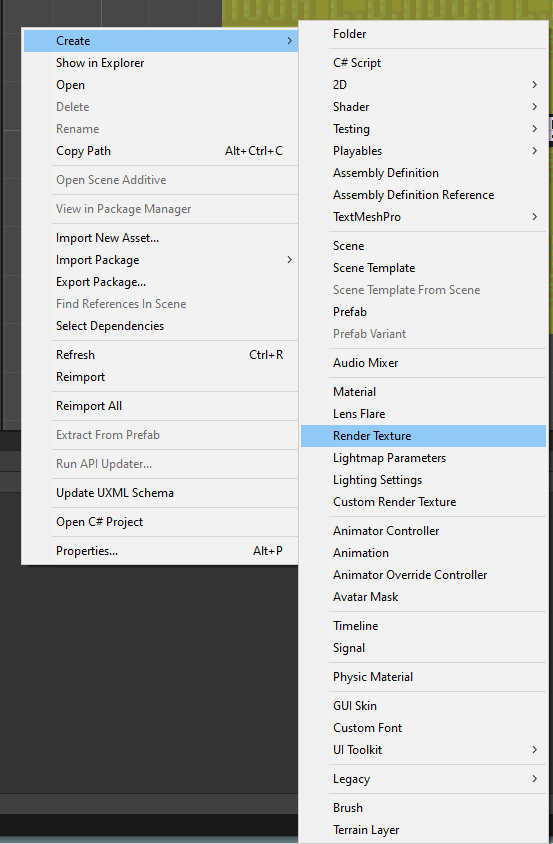
I'm going to name it "PixelProjection"
Select your texture, and in the inspector, set your size to the resolution you chose, set Anti-Aliasing to None, set Filter Mode to Point

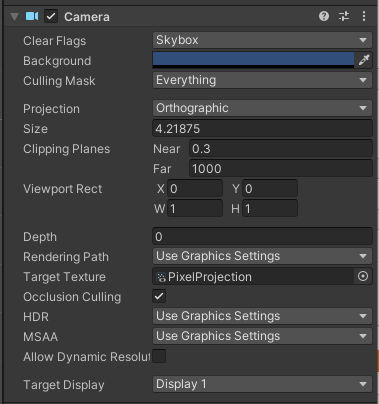
Step 8) Setup your GameCamera
Select your GameCamera. Drag your "PixelProjection" texture to the box called "Target Texture" in the Inspector.
Set the Projection to "Orthographic" - This keeps the game properly 2D.
The size is a little tricky, but here's an easy formula.
Size = Pixel Height / Pixels Per Unit / 2
So for this project, our pixel height is 135, and our Pixels Per Unit is 16
135 / 16 / 2 = 4.21875
As soon as you set the size you should see it snap perfectly to your ScreenSize object you already placed.
Step 9) Setup your Mesh
In your Hierachy, create a 3D Object called a Quad
Set the position to be where your MainCamera is but with the Z coord being greater, this example is at -420, -420, 69
Set the scale to "ResolutionWidth/PixelsPerUnit". You don't need to do the math yourself. Just type in 240/16, and 135/16 and it will do the math for you.
Drag your "PixelProjection" to the bottom of the Inspector of the Quad.
Change the shader to "Sprites/Default" and it will make your sprite clear as day.
Step 10) Setup your MainCamera
Set your main camera size to the same size as your game camera. In your "Game" tab, set the editor to show a 16:9 to make sure it fits right. Easy. BAM. You're done!
I know it seems a little more complicated than throwing the "PixelPerfect" script on there, but I promise you this is going to work WAY better. You're going to have to come up with your own work arounds if you output to anything other than a 16:9 format. Sorry. This isn't for that. This is to scale perfectly to any HD TV without janky textures, and wonky "PixelPerfect" issues.
EXISITING PROJECTS:
You need to do the same thing as up there, except turn your existing "MainCamera" into a plain camera, and remove the "MainCamera" tag. Put the PixelProjection on your old MainCamera.
Make a new camera called "MainCamera" far away from everything and make sure you set it's tag to "MainCamera".
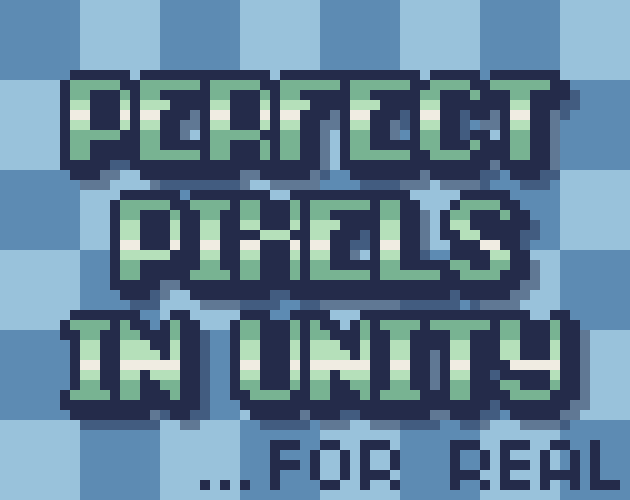
My method in action in a windowed version of a 240x135 game. Notice there is no Sub-Pixel movement, no double pixels, just pure faux-nostalgic joy.
References:
1) https://docs.unity3d.com/2019.3/Documentation/Manual/BestPracticeMakingBelievabl...
Download
Click download now to get access to the following files:
Comments
Log in with itch.io to leave a comment.
Special thanks to MixPixVisuals on YouTube, I finally stumbled upon the spark I needed to get this to come together.
His video might give a better explanation of what's going on as well so you understand it rather than just redoing what I showed you: